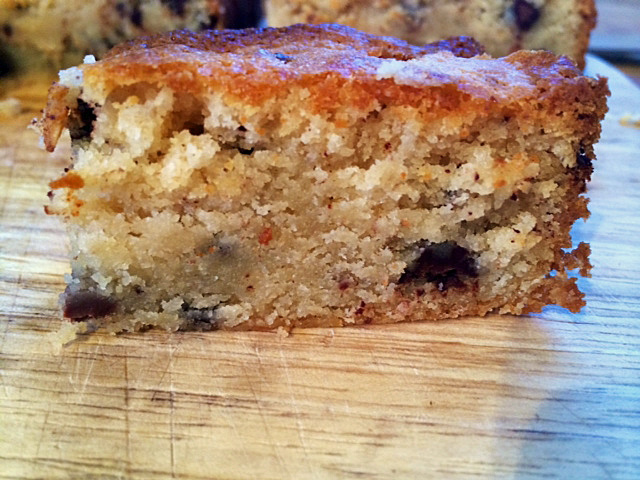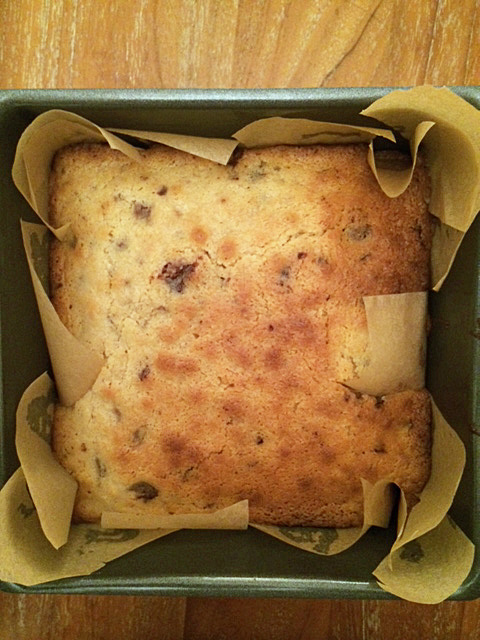
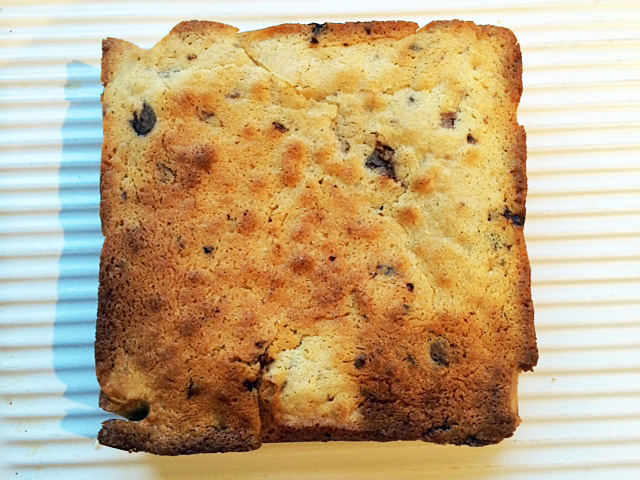
It’s late, I’m tired, I’ve been to Manchester and back to today and have only just finished working, but I promised someone I’d blog this very tasty blondie by tomorrow and at ten o’clock tomorrow morning I’m going to deepest, darkest Devon with no wifi or phone signal (the reality of this is just sinking in..) so it’s now or never. As you know the daughter has coeliac disease; she’s a very fussy eater; she likes chocolate (no fussiness with that foodstuff – what a shocker) and she’s also allergic to eggs. I’ve developed a blondie recipe that she can eat and actually doesn’t taste like it’s gluten AND egg free (it’s not crumbly and it has a decent rise) so here it is. (I made it with my new miracle egg replacer discovery – whipped chick pea brine, but I’ll give you directions for using the real thing too). It’s yum. When I left this morning the whole cake was intact as per the photo above; on my return this evening there were a few crumbs left. Mr Arabella Cooks and three lively children had demolished almost all of it (and I’ve just polished the rest off).
Ingredients:
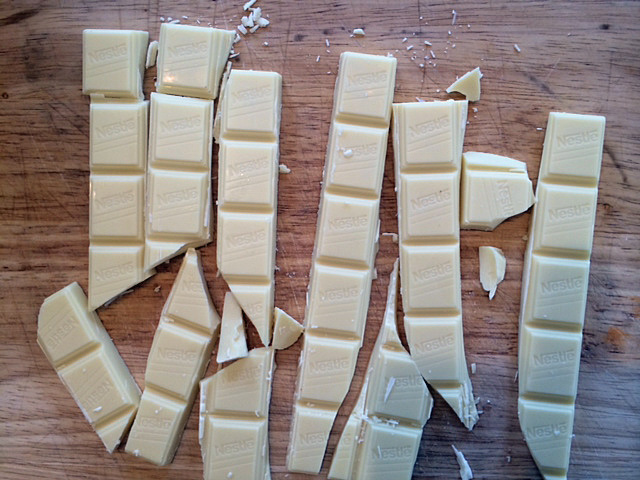
- 1 x 150g bar of gluten free white cooking chocolate (I use Green and Blacks) broken up.
- 200g unsalted butter, cut up into small chunks
- 150g of caster sugar
- 1/2 a teaspoon of baking powder
- 1/4 of a teaspoon of salt
- 150g of gluten free plain flour (I use Doves)
- 50g of gluten free BREAD flour (it has xanthan gum added to it which helps to bind your bake)
- Half a bar of dark gluten free cooking chocolate (I use Green and Blacks)
- 200 ml of milk (full fat)
- 9 tablespoons of aquafaba (the liquid left when you drain a can of chickpeas), whipped to stiff peaks OR 3 large eggs
Method:
- Pre heat the oven to 180 (160 fan) degrees
- Grease and line a square 18cm/7 inch cake tin with baking parchment
- Melt the chocolate and the butter together in a large bowl over a small saucepan with a small amount of water in it, on a low heat. White chocolate (which isn’t really chocolate) does not react well to being heated too quickly or too much so watch it.
- Whisk your aquafaba to stiff peaks with a hand held or free standing mixer; if using eggs, whisk them to soft peaks then add the sugar and vanilla extract and beat until it looks like mousse.
- (With aquafaba): Mix the flours, sugar, salt and baking powder together in another bowl.
- Make a well in the centre and add the melted chocolate and butter mixture. Stir to combine.
- Fold in the whipped aquafaba using a metal spoon (you want to try and retain as much air as you can; it’s difficult as the aquafaba collapses more easily than real eggs).
- You want a nice ‘dropping consistency’ batter, so now add as much of the milk as you need to achieve this.
- Add the dark chocolate chips to the batter and stir. Add the batter to the prepared tin.
- Bake. In my oven it took 45-50 minutes to cook. All ovens vary so test it with a cake skewer at 25 minutes in and then every 5 minutes until it’s done. It’s OK for this to be a bit gooey in the middle – the best brownie/blondies are; it’s better for them to be under than over baked, but you don’t want too much floury taste left (esp as it’s gluten free flour) so make sure it’s got a good colour on the top and is done sufficiently.
- Remove from the oven; allow to cool in the tin then remove very gently and leave to cool completely on a wire rack.
- If you’re using real eggs to make this:
- You’ve melted the butter and white choc; you’ve whisked the eggs and added the sugar.
- Add the butter and choc to the eggs and keep whisking.
- Add the flours and baking powder directly to the egg and chocolate mixture and fold it in.
- You shouldn’t need to use the milk if you’re using eggs, but if your batter is too thick, add a little to loosen it
- Stir in the chopped up dark chocolate
- Spoon into the prepared tin and bake in the oven. I didn’t use eggs so couldn’t say for sure how long to cook it for but I’d say between 25 and 35 minutes; check it after 25 minutes as above..
Enjoy x