Chocolate cake in a cup

mug cake 1

I love making mug cakes. I love how easy they are – no weighing, melting or creaming, just measuring and adding spoonfuls into a cup. Last night Mr Arabella Cooks and I fancied a quick dessert after our evening roast so I knocked one of these up. We stood with our noses pressed against the microwave door oohing and ahhhing at the magic of the rapidly rising pud and it’s gorgeously thick, intensely chocolatey smell. When they work these are as good as any fancy restaurant or dinner party fondant.  Overcook them however and they are disgusting – like rubbery cardboard. Every microwave oven (bizarrely) cooks differently, so you might have to make a couple before you discover the exact time it takes to achieve mug cake perfection in your own oven. My first attempt last night didn’t work.  The recipe I used called for far too long in the oven. The second one, though, after a few tweaks, was utterly gorgeous.

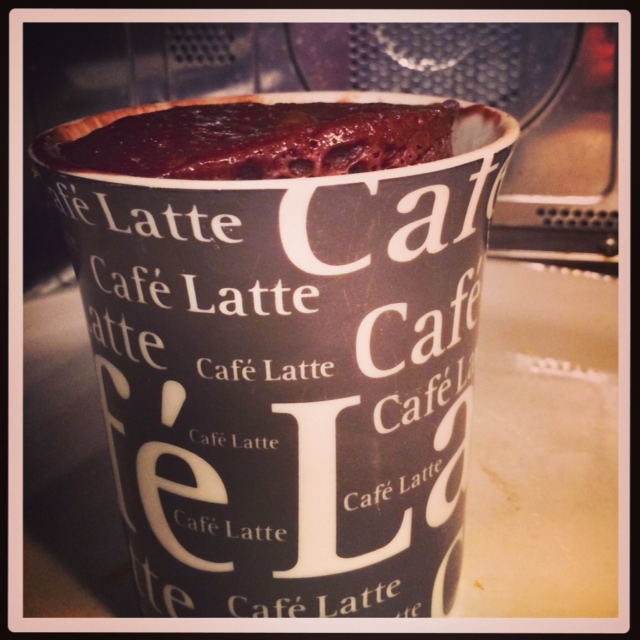
They don’t photograph terribly well. The feature picture here is essentially just a mug. Sorry about that. But cooked perfectly they taste divine. So get a dozen or so eggs in, find someone to sample the ones that don’t work (our two year old is very handy in that regard) and enjoy the research.

Serves two (or 1 greedy person)

Equipment:

  • A mug
  • Some measuring spoons (these are a really useful thing to have in your kitchen; dessert spoons all differ in size so to be really accurate you need these)

Ingredients:

  • 4 tablespoons of plain flour
  • 4 tablespoons of sugar
  • 2 tablespoons of cocoa powder
  • 1 egg, lightly beaten
  • 3 tablespoons of milk
  • 3 tablespoons of vegetable oil or melted butter (I use oil)
  • 1/2 a teaspoon of vanilla essence
  • a  handful of dark chocolate pieces (I used Dr. Oetker dark chocolate chunks; chop up a small bar of chocolate if you don’t have any chips or chunks to hand)
  • Optional – a teaspoonful of peanut butter

Method

  1. Put the dry ingredients into the mug and stir with a fork
  2. Add the milk, oil or butter and vanilla. Stir to combine
  3. Add the egg and stir until you have a smooth, glossy batter with no pockets of flour
  4. Stir in the chocolate pieces and if you’re going to use it put the teaspoon of peanut butter into the middle of the batter and scrape in the peanut butter using another teaspoon
  5. Put the mug into the microwave. In mine, which is 900W, it takes exactly 1 minutes and 30 seconds to achieve fondant nirvana.
  6. Let it cool slightly, then either eat it straight from the mug or run a palette knife around the edge and tip it out gently onto two plates. There should be a natural break in the middle where it’s still gooey, giving you two perfect melting middle chocolate fondant puddings. It’s delicious with ice cream, especially my raspberry ripple. Yum!

Easy lemon curd mousse with lemon arlettes

mousse sharp

On tonight’s Bake Off the technical challenge was a biscuit called an Arlette which involves making a sort of puff pastry from scratch. Whilst on holiday in Devon two weeks ago I saw a Rose Prince dessert in a newspaper magazine which I thought sounded easy to make and tasty. I thereby unwittingly made these very same biscuits. (Well, sort of, anyway). I had no idea they were called Arlettes; I thought they were more of a Palmier (shows how much I know). Of course I didn’t make my own puff pastry and I suspect Paul and Mary would have issues with my thickness (and not having any cinnamon in them) but nevertheless they were delicious and went beautifully with the gorgeous lemon mousse, so, with a small amount of alteration, here they are. (Serves 4 – 6 depending on the size of your ramekins).

Ingredients for the lemon Arlettes:

  • 1 block or sheet of all butter puff pastry (blocks are usually 375g and sheets 320g)
  • The zest of 3 lemons, grated (Prince says 2 but I think they needed a bit more lemonyness)
  • 2 tbsp caster sugar
  • 1 egg, beaten

Method:

Preheat the oven to 200C

  1. Unroll your sheet of pastry, or roll out the pastry to ¼ cm thickness if you have a block. (Prince says ½ cm but I’m thinking about Paul and Mary here).
  2. Scatter 2/3 of the lemon zest and a generous tablespoon of sugar onto both sides of your pastry  – you can do this by putting half (of your two thirds) of the sugar and zest onto a piece of baking parchment, placing your pastry on that and then scattering the remaining half of your two thirds of lemon and zest on top of the pastry. (Sounds complicated; really isn’t).
  3. Roll up the pastry (from the short end) into a log shape, wrap it tightly in baking paper and chill in the fridge for at least 30 mins (or 10 mins in the freezer).
  4. Unwrap and cut the pastry roll into thin slices.
  5. Gently roll the slices even thinner using a rolling pin.
  6. Place the slices on a baking sheet covered with baking paper covered in half of the res of your zest and sugar.
  7. Brush them with beaten egg and then dust their tops with the remaining lemon zest and sugar.
  8. Bake until golden – about 10-15 minutes. Leave to cool on the baking sheet for a minute or two then cool completely on a rack.

Ingredients for the lemon curd mousse

  • 1 jar of the best lemon curd you can afford (about 320g. You could make your own, but then the recipe wouldn’t be ‘easy’)
  • 300g double cream, whipped
  • The zest of 1 lemon, pared (if you can. I find this very tricky. But it does look nicer if the peel is pared not grated. Though grated will of course be fine).

Method:

Fold the lemon curd into the whipped cream until the two are amalgamated, then spoon or pour it into pretty ramekins. Scatter the pared zest on the top and chill until needed. Serve with the beautiful Arlettes. Simple as. Yums! (ps your Arlettes should look thinner than mine!)

mousses 3