
My mother does not approve of shortbread. It is the fact that it is entirely comprised of butter, sugar and flour. She prefers her homemade biscuits to have oats, seeds and dried fruits in so as to offset their calorific burden with a nutritional bonus. But my children and I care little for that and find the particular synergy of fat and sugar in a shortbread biscuit a sheer and utter delight. And it works wonderfully well in a gluten free format so we make it a lot. Delilah has a ‘tribe’ fundraiser at school tomorrow. There is to be some biscuit decorating going on so I’ve made some petticoat tails to send in with her so she doesn’t miss out on the fun.
One thing my mother and I do agree on is the use of salted butter in baking. She never uses unsalted butter, reasoning that if you’re going to add a pinch of salt to the mixture anyway, why go to the bother of buying separate butter? I didn’t have any unsalted butter in tonight so I used salted and it works wonderfully well here, not least as you sprinkle them with delicious golden caster sugar anyway, and isn’t everything sweet ‘salted’ in some way these days? It really does enhance the flavour.
One word of warning, these biscuits will spread A LOT whilst baking so go with it when I say make the dough cake thick; it needs it or they melt away to nothing and you want a shortbread biscuit that you can sink your teeth into. It is a fabulous recipe though, the cornflour makes them wonderfully light, and gluten free or not they are a damn fine biscuit. In my humble opinion.
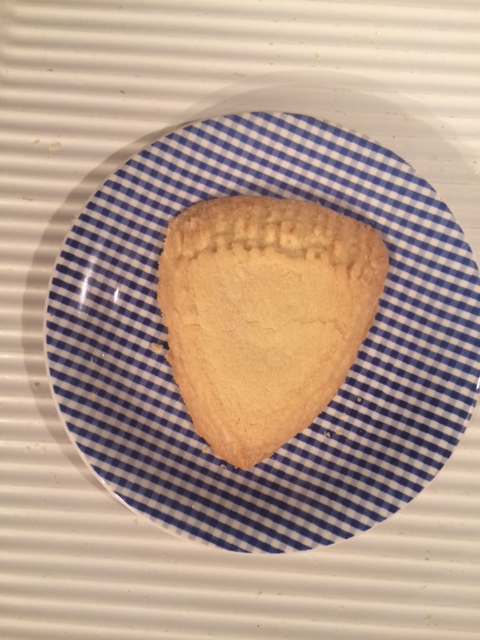
You could of course just make them into rounds (each to their own) but the kids and I find their triangular heart shapedness particularly pleasing.
Ingredients:
- 230g gluten free flour
- 110g cornflour
- 110g icing sugar
- 230g room temperature butter (salted or unsalted), cubed
Method:
Pre-heat your oven to 180c (fan)
1) Sieve the dry ingredients together into a large bowl
2) Rub in the chopped butter with your fingers
3) When all the butter is rubbed in, press it all together to make one big ball of dough:
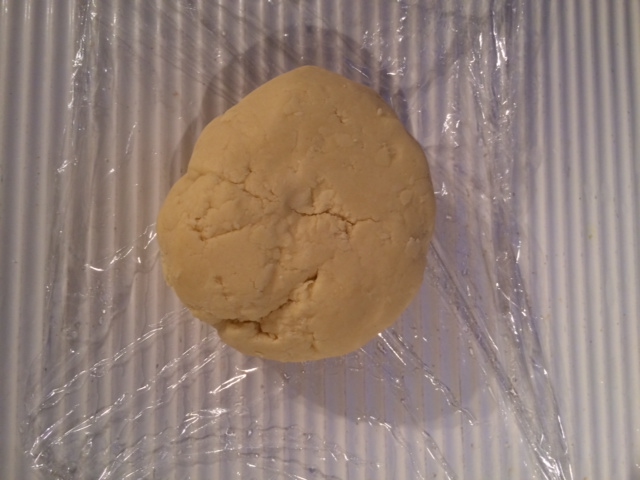
4) Wrap the ball in clingfilm and put it in the fridge for 20 minutes or so.
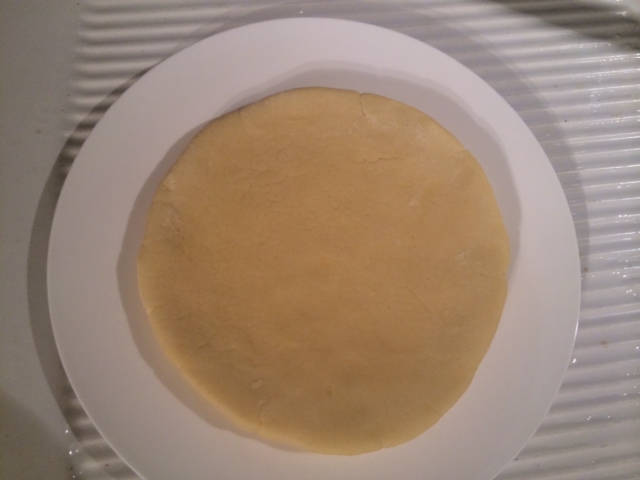
5) After 20 minutes roll out the dough on a lightly gluten free floured surface. Be careful, as it will crack so you need to be very gentle with it and shape and form it with care. You want to end up with a nice thick round cake shape, 2 cm high by 18 cm in diameter:
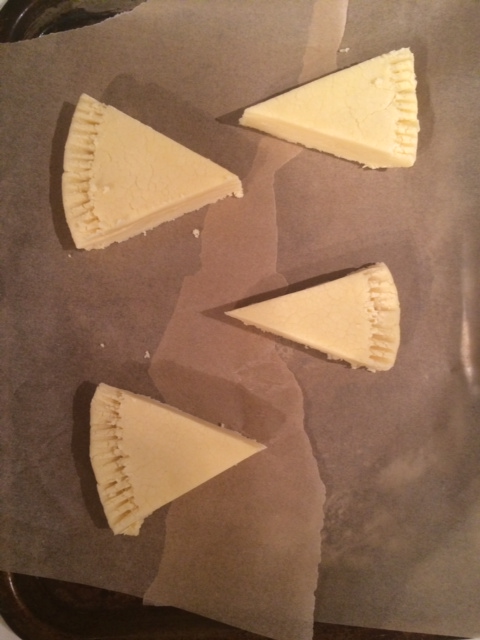
6) Take a sharp knife and bisect the cake 4 times to demarcate 8 triangles. Then take a fork and with the tines facing down, gently impress the ends of the tines against the edges of the dough like so:
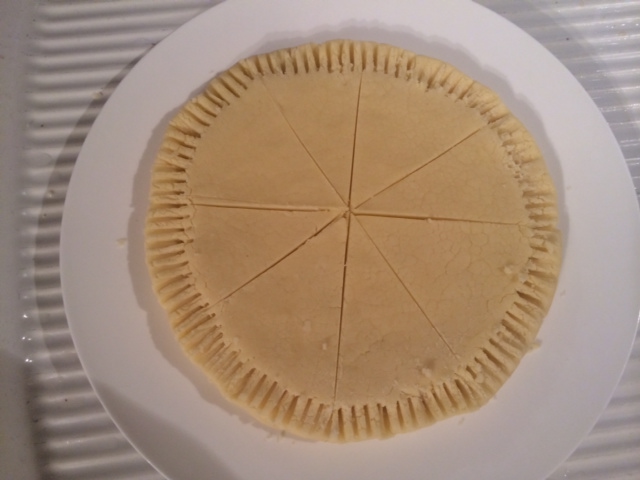
I used the index finger of my other hand to press the edge of the dough in whilst pressing down with the fork as it is quite crumbly.
7) Then cut the triangles out and place them onto two baking trays lined with baking parchment (4 on each, with lots of space between so they don’t spread into each other):
8) Bake in the oven for 15-20 minutes.
9) Take out and after a couple of minutes transfer to a wire cooking rack and sprinkle them with golden caster sugar (or regular caster sugar if that’s what you have). They will be very crumbly whilst still hot, but once cooled they do firm up.
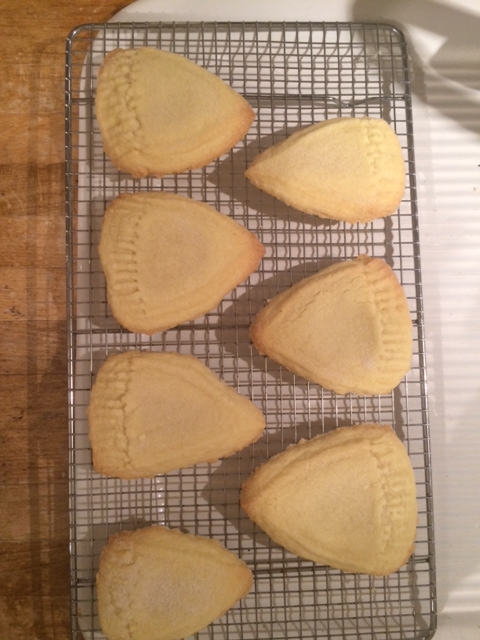
They’re probably best eaten the next day/later in the afternoon once completely cooled and firm. Yum!
